Meta Description: Learn different methods for taking screenshots on Mac including the entire screen, specific windows, and portions of the screen.

Do you need to capture something on your Mac screen but are unsure how? Taking screenshots on your Mac is quick and convenient. You can use it to save visuals for various purposes like information and creating tutorials. Don’t worry, the process is not stressful or time-consuming.
Today, we will show you the fastest way to capture a screenshot on a Mac. You’ll also learn how to edit screenshots on Mac. Let’s jump right into it
Methods For Taking Screenshots On Mac
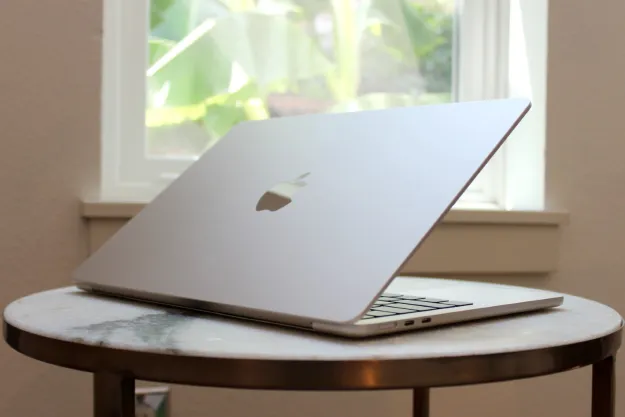
There are 3 methods you can use to take screenshots on your MacBook Air. These methods are explained below with their different MacBook shortcuts.
1. Capture The Entire Screen
There are two ways to capture your entire Mac screen:
A. Using The Keyboard Shortcut
This is the quickest and most common method. Simply press and hold Shift + Command + 3 simultaneously. You’ll hear a brief shutter sound and see a momentary flash on the screen. This indicates a successful capture. The screenshot will be saved automatically to your desktop. It will bear a PNG file named “Screen Shot [date and time]”.
B. Use The Screenshot Tool (Introduced In macos and mojave)
Open the Screenshot tool by pressing Shift + Command + 5. In the toolbar, choose “Capture Entire Screen” which functions identically to the keyboard shortcut. You can also access additional options here like capture delay or a different save location.
2. Capture A Specific Window Or Menu
If you want to capture a specific window or menu on your MacBook screen. Here’s how:
A. Using The Keyboard Shortcut
Press and hold Shift + Command + 4 + Space. Your cursor will transform into a camera icon. Click on the window you want to capture. Then, you can save it to your desktop.
B. Select The Window With The Screenshot Tool
Open the Screenshot tool (Shift + Command + 5) and choose “Capture Window”. Click on the Desiree window to capture it.
3. Capture a Portion of the Screen
For capturing specific sections of your screen, you have two options:
A. Use The Drag-and-select Method With The Keyboard Shortcut
Press and hold Shift + Command + 4. Your cursor will change into a crosshair. Click and drag across the area you want to capture, then release the mouse or trackpad button. The screenshot will be saved to your desktop.
B. Use The Selection Option In The Screenshot Tool
Open the Screenshot tool (Shift + Command + 5) and choose “Capture Selection”. Drag the selection box to pass through the desired area. Release to capture the screenshot.
Additional Options With The Screenshot Tool (macOS Mojave and later)
Beyond the basic capture methods, the Screenshot tool (introduced in macOS Mojave and later) offers several additional features to enhance your screenshot experience:
1. Capture A Delayed Screenshot
The “Capture after [number] seconds” option in the Screenshot tool can be used to set a delay before the screenshot is taken. This gives you time to position windows, hide unwanted elements, or even open specific menus before capturing.
2. Show The Floating Thumbnail
By default, a temporary thumbnail appears briefly in the corner of your screen after taking a screenshot. Enable the “Show floating thumbnail” option to keep the thumbnail accessible for a longer duration. This allows you to quickly edit, share, or delete the screenshot without navigating to the saved location.
3. Change The Save Location
Tired of screenshots cluttering your desktop? Utilize the “Save to” option to designate a specific folder for all your screenshots. This helps maintain organization and simplifies finding specific captures later.
4. Capture The Entire Screen Or A Selected Area As A Recording
Screenshots are great for static images, but sometimes you need to capture dynamic content. The Screenshot tool lets you record your entire screen or a specific area as a movie file. This allows you to capture screen actions, app demonstrations, or even tutorials for sharing.
Editing And Sharing Screenshots On Mac
Once you’ve captured the desired screenshot, you have several options for editing and sharing it:
1. Quick Editing Via The Thumbnail
macOS Mojave and later offer a convenient way to make basic edits directly from the screenshot notification thumbnail. Look for the thumbnail that pops up briefly in the bottom right corner after taking a screenshot. Clicking on it opens a window with options to crop or trim, markup, share and delete.
2. Advanced Editing With Preview
For more extensive editing tasks, you can open the screenshot using the built-in Preview app. Simply double-click the screenshot file on your desktop or use the “Open With” option and select Preview. This versatile tool allows you to:
- Refine the image
- Add text and annotations
- Resize and crop
- Apply additional features
3. Sharing Your Screenshots
Once you’ve finished editing, you can share your screenshot with ease through different options like blue tooth, email attachment, social media etc.
Tips For Efficient Screenshot Capture
Here are some effective tips for efficient Screenshot Capture
1. Tailor Your Workflow
Mac allows you to customize the keyboard shortcuts used for taking screenshots. Head over to System Settings > Keyboard > Keyboard Shortcuts > Screenshots to adjust these shortcuts to your preference. This personalization can significantly enhance your screenshot-taking experience.
2. Exclude Window Shadows (optional)
When capturing a specific window, you might prefer to exclude the subtle shadow that often appears beneath it. Simply hold down the Option key while clicking on the window with the cursor in the shape of a camera (activated by pressing Shift + Command + 4 + Space). This will capture the window content without the shadow, resulting in a cleaner image.
3. Copy To Clipboard For Quick Pasting
Need to quickly share your screenshot without saving it first? Hold down the Control key along with the other shortcut keys (e.g., Control + Shift + Command + 3 for capturing the entire screen). This will copy the screenshot to your clipboard, allowing you to paste it directly into applications like emails, messages, or image editing software.
Conclusion
In conclusion, taking screenshots on your Mac Laptop is a breeze with these simple methods. Choose the approach that best suits your needs and customize your workflow for efficient screen capture.


